Sep. 16th, 2006 10:45 pm
Ouran High School Host Club Banner
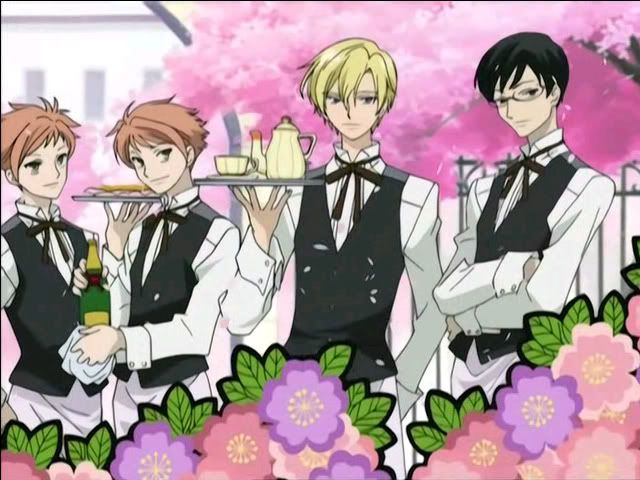
Go from this and this to this: 
 |
Take both images and place them on a single canvas (mine was 500x300) and resize them to 322x242. Make sure the one with Mori [the guy in blue] is on the top |
 |
Next change the top layer and change it to Opacity: 60% Now match up the Hikaru and Kaoru. Then change the that layer back to Opacity: 100%. |
 |
You might notice now that the trees where the images are laying on top of each other don't match. Let's fix that by copying a part of another tree and placing it to fill in the extra tree. I took the fluffy pink tree below the part that doesn't match and selected that section and copied it. Then i place the layer on the top and placed it in the right spot. |
 |
You might notice it doesn't match. This is the time when you take all of your layers and squash them down to one (Layer>Flatten Image). Now take the blur Tool and blur that one section until it matches the rest of the background. |
 |
Now go to image>Canvas, set width=500 height=242 and put the anchor square to the TOP Right corner. Press ok. |
 |
We should make a border, yes? Make a New Layer and then select the whole canvas (Control+A). Go to Edit>Stroke, set width=2px, color=#000000, Location=inside, blending=normal, 100%, unchecked. Now press ok. DO NOT UNSELECT THE IMAGE. |
 |
Keep the image selected and on the same layer as before. Go to Edit>Stroke, set width=1px, color#D564A4 Location=inside, blending=normal, 100%, unchecked. Now press ok. location. |
 |
Now let's add some text. I put Ouran High School Host Club in Century Gothic, 24px, strong, #000000. |
|
You can't really read the text right? Make a new layer on top. Now select the text layer while pressing Ctrl. You should get a dotted line going around the text. Go to Edit>Stroke width=1px, color#D564A4 location=outside, blending=normal, 100%, unchecked. You should end up with a pink line going around the text, which makes it easier to see. WE'RE DONE! YAY! |
Tags:
no subject